
Inside: Satin Stitch Embroidery: What Is It + How To Do It?!
The best part about starting hobbies like embroidery is that there’s always more to learn. You can learn the basics and have fun with it for a while, but as you continue on learning new tips and tricks, you can start to take on more advanced skills and techniques.
The satin stitch, while it doesn’t require any necessarily tough techniques or skill, it is a little more consuming than a regular fill stitch and it requires a good spatial recognition talent as well as patience and excellence in placing the stitches in the right direction.
We will dig into the tutorial and how to accomplish a satin stitch embroidery here in a moment, but we will also discuss how you use this stitch, which kind of embroidery designs require it, and a couple variations or at least discuss when this stitch gets a little more difficult.
You can take on any challenge that comes your way, but it’s good to beware of what the challenge is before it hits.
Let’s dive into the satin stitch embroidery.
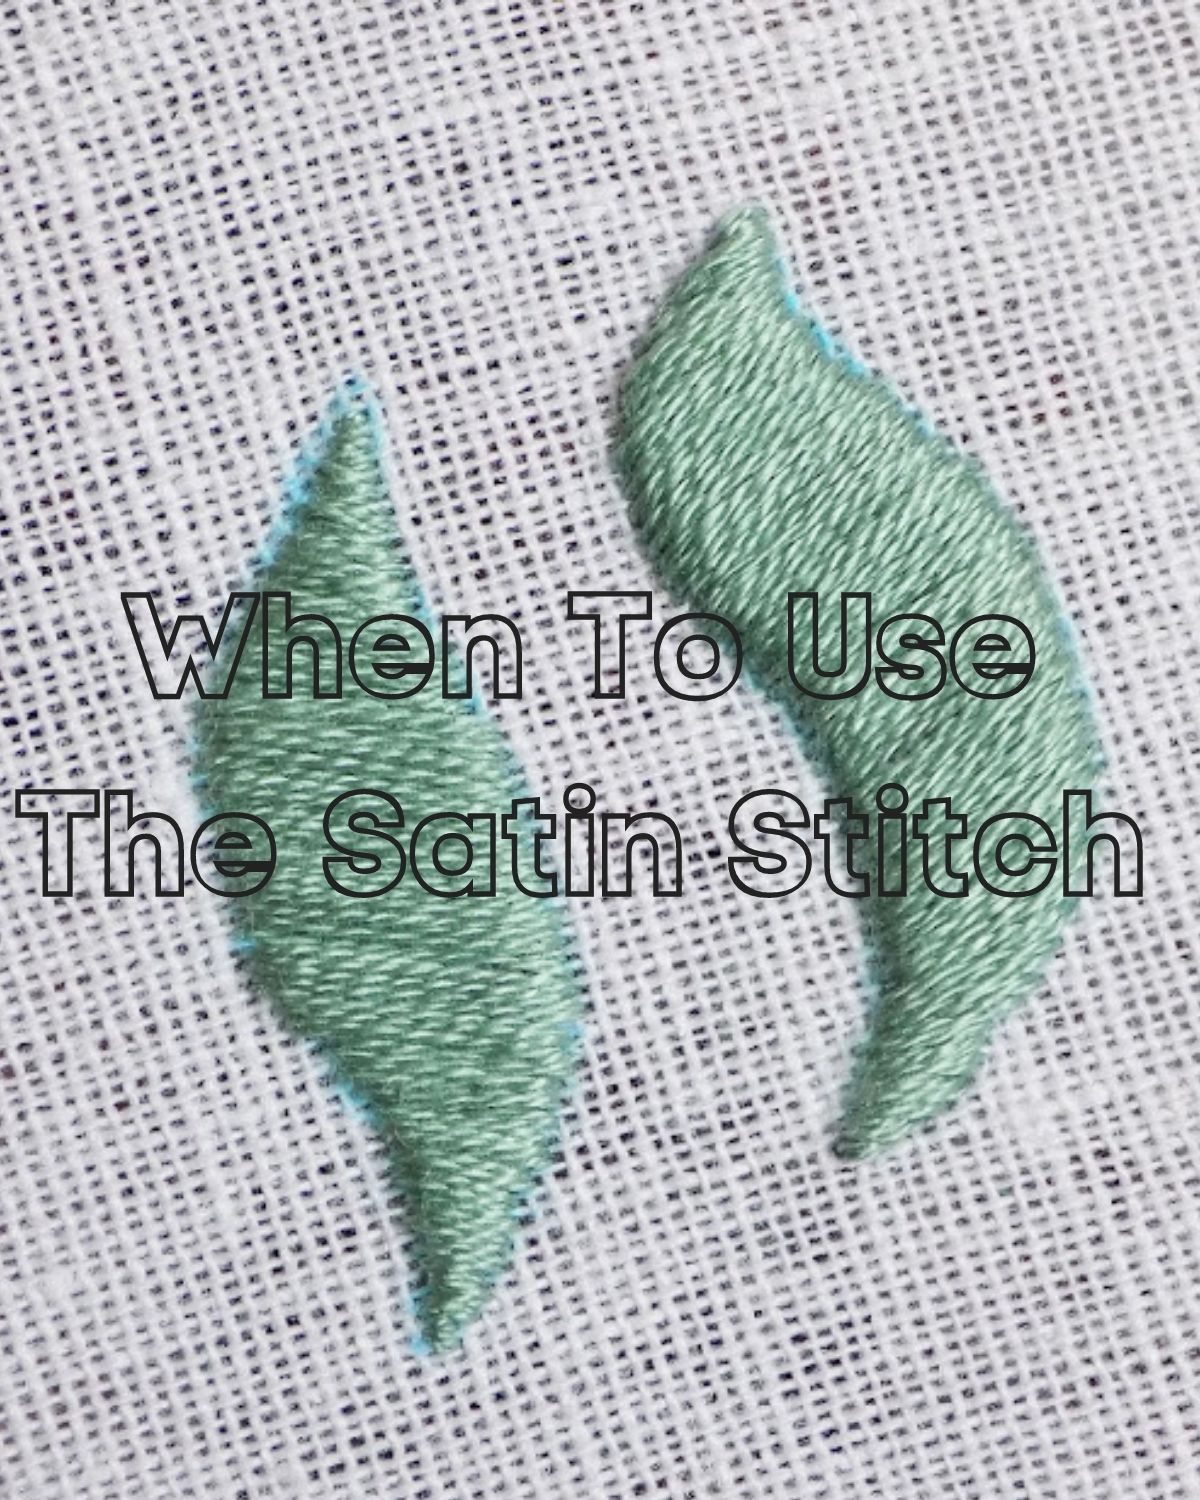
When To Use The Satin Stitch
The satin stitch is an easy stitch technique to use to fill space in an image. If you have anything that just needs to be filled with the one color or same thread, this is when this one comes in handy. It’s a space filler, and it’s totally up to you as to when you would rather use this to fill rather than a standard fill.
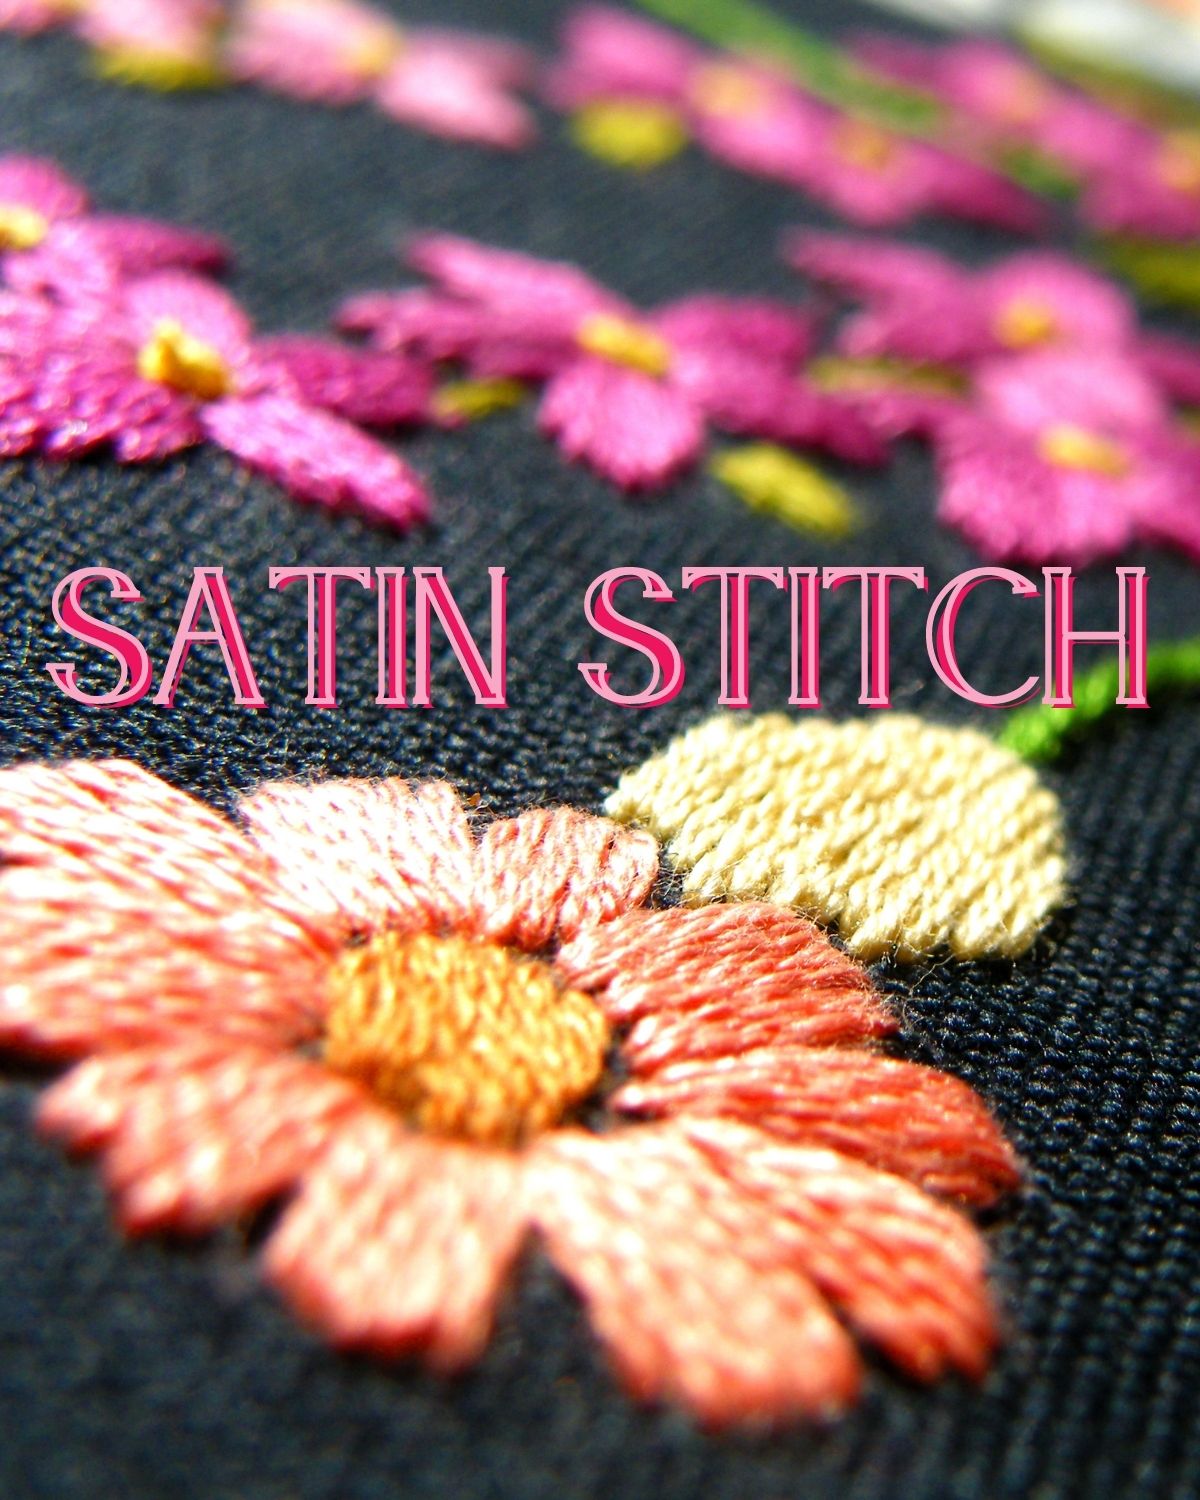
All of the threads are going in the same direction in longer portions, creating a soft and satin-y feel to the embroidery, hence the name, the satin stitch.
It’s funny how all of the names of different embroidery stitches come from something so simple, right?
It has more of a fuller look to it, so if you’re working on a minimalist or a thin and neat looking image, I recommend not using it. But if it’s a full and bubbly image design, go for it! It’s a great look that you’re going to love.
As you continue to embroider more and create more embroidery pieces and evaluate them after, you’ll start to pick up on spots where you could have done something a little differently. And as you do them differently, or as you decide how you could have done them differently, you start to pick up on some of these different techniques and incorporate them. It’s totally possible to then change the way you do it and put a more personal twist on it as you do it. So not every satin stitch you do has to look the same, and you can pick up different ideas for it too.
So now that we know when we’re supposed to use this stitch, let’s figure out how to do it in the first place.
How To Do The Satin Stitch
There are a ton of different techniques out there to perfecting the satin stitch, but before we get into that, I’ll let you know how it goes at the base of everything.
If you have an area you would like to fill, like say… A box, to keep it simple with straight lines, you would repeatedly place stitches side by side that filled the sides of the box, that start at the top of the box and run down to the bottom in one stitch.
This genuinely might be the most straightforward filler stitch there is, but it can look a little wonky or off if you don’t focus and do it right. If these stitches look slanted, the box itself is going to look tilted or slanted over. So however you manage to create this stitch is going to affect the image itself.
When you go down from the top of the fabric, you repeat the motion. So the front and back of the embroidery piece look to both have the same satin stitch. You can hack it by just going back up next to where you came down, but it’s not technically the correct way to do a satin stitch.
What are some different techniques that you can do to make sure it stays straight?
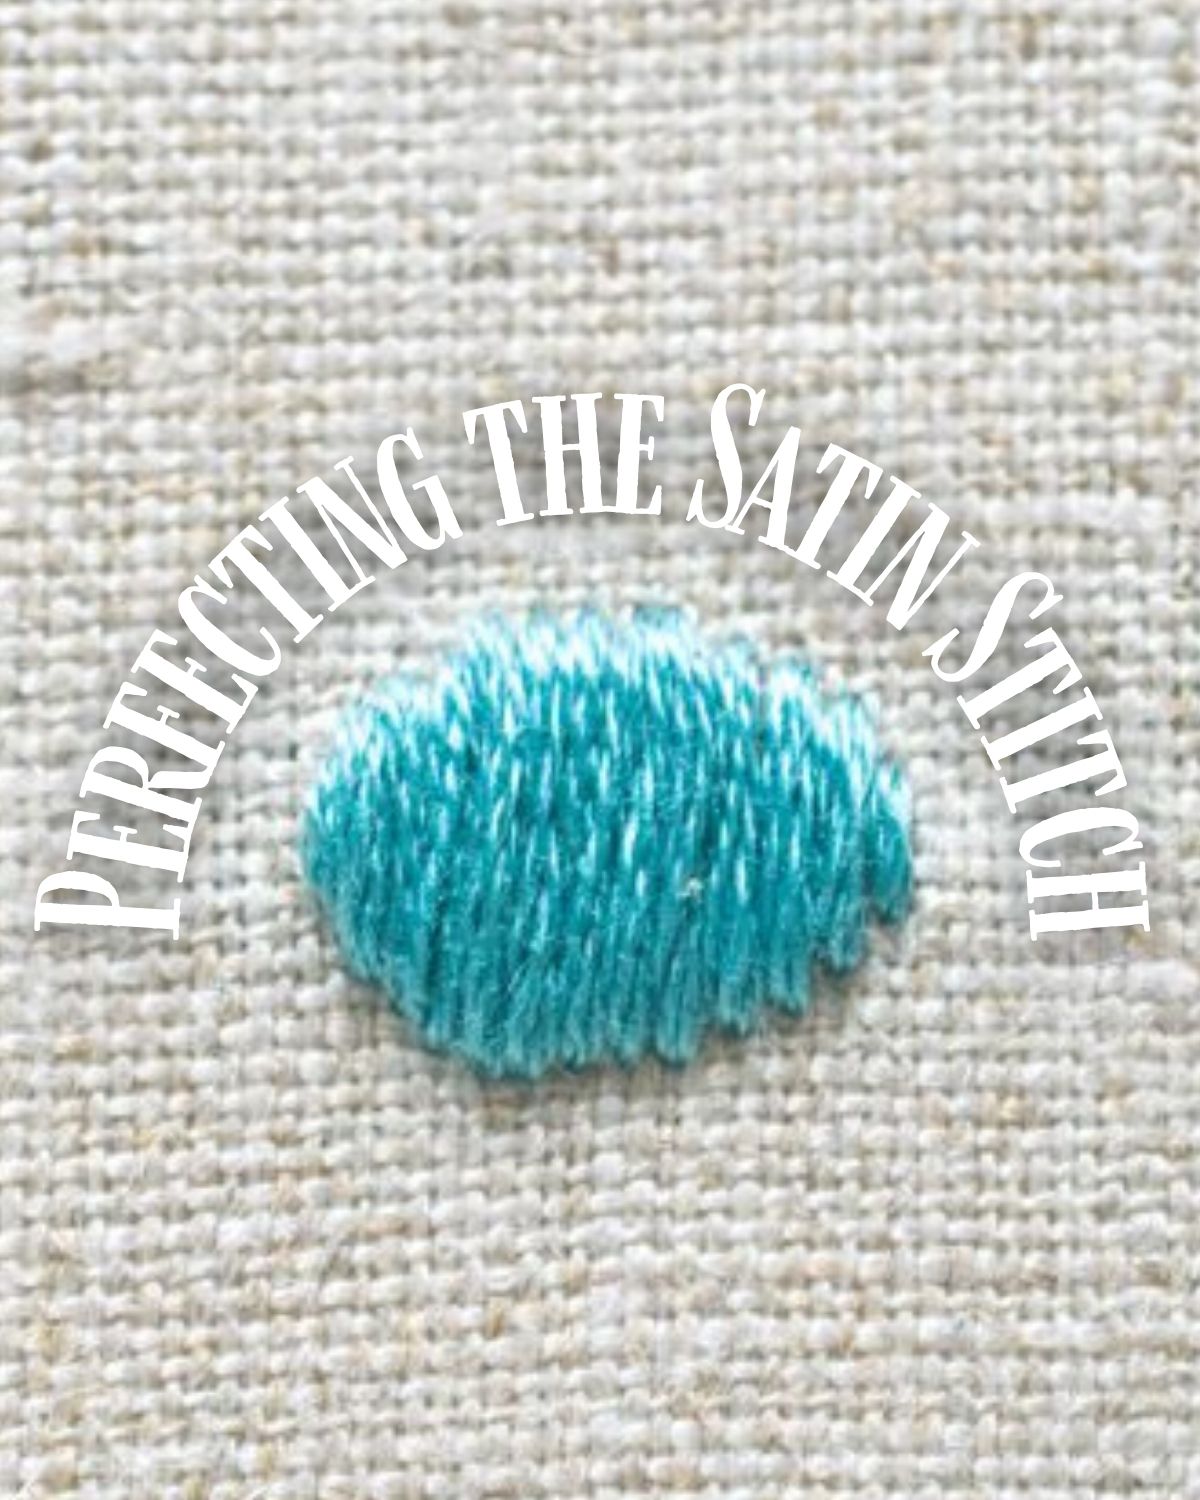
Perfecting The Satin Stitch
Every embroidery professional has their own tips and tricks that they use to make every stitch the best it can be. Many of these embroidery professionals post their tips online, so I’ve checked out a few of them to give you some of the best.
Cutesy Crafts on YouTube uses a pencil to draw lines in between the starting point and the finish point, and fills those with the up and down stitches. She only goes about half way between each line, and then goes halfway between that stitch and the next, and so on until it’s full.
If you want an even fuller effect than the one that it has naturally, fill it with padding stitches. This creates an interesting and embossed look, according to The Spruce Crafts. The satin stitch itself already tends to look like it’s a little raised and really full, but the padding can add an extra lift if that’s what you need for your embroidery piece.
If you don’t like the jagged way that the edges can look once you’re done, an outline is a really good way to clean it up. It’s all up to you what kind of outline you want to make and what stitch you would like to use for it, but Sublime Stitching mentions split stitches or a back stitch. And she also says if you use a different color, it can make the whole thing pop! How fun.
Learning our hobbies to the greatest extent of how each of the skills we acquire are meant to be used is how we master a simple pastime. And while mastering something that we do for fun isn’t the point of it, it only makes it more fun to feel like you’re growing in something that you love and are passionate about.
Learning these new skills and taking the time to practice them is what produces the product that we’re proud of and that we want to share with those around us.
So have fun with practicing this satin stitch and learning how to incorporate it into your upcoming projects. It’s going to elevate your stitching and you’re going to love the result!
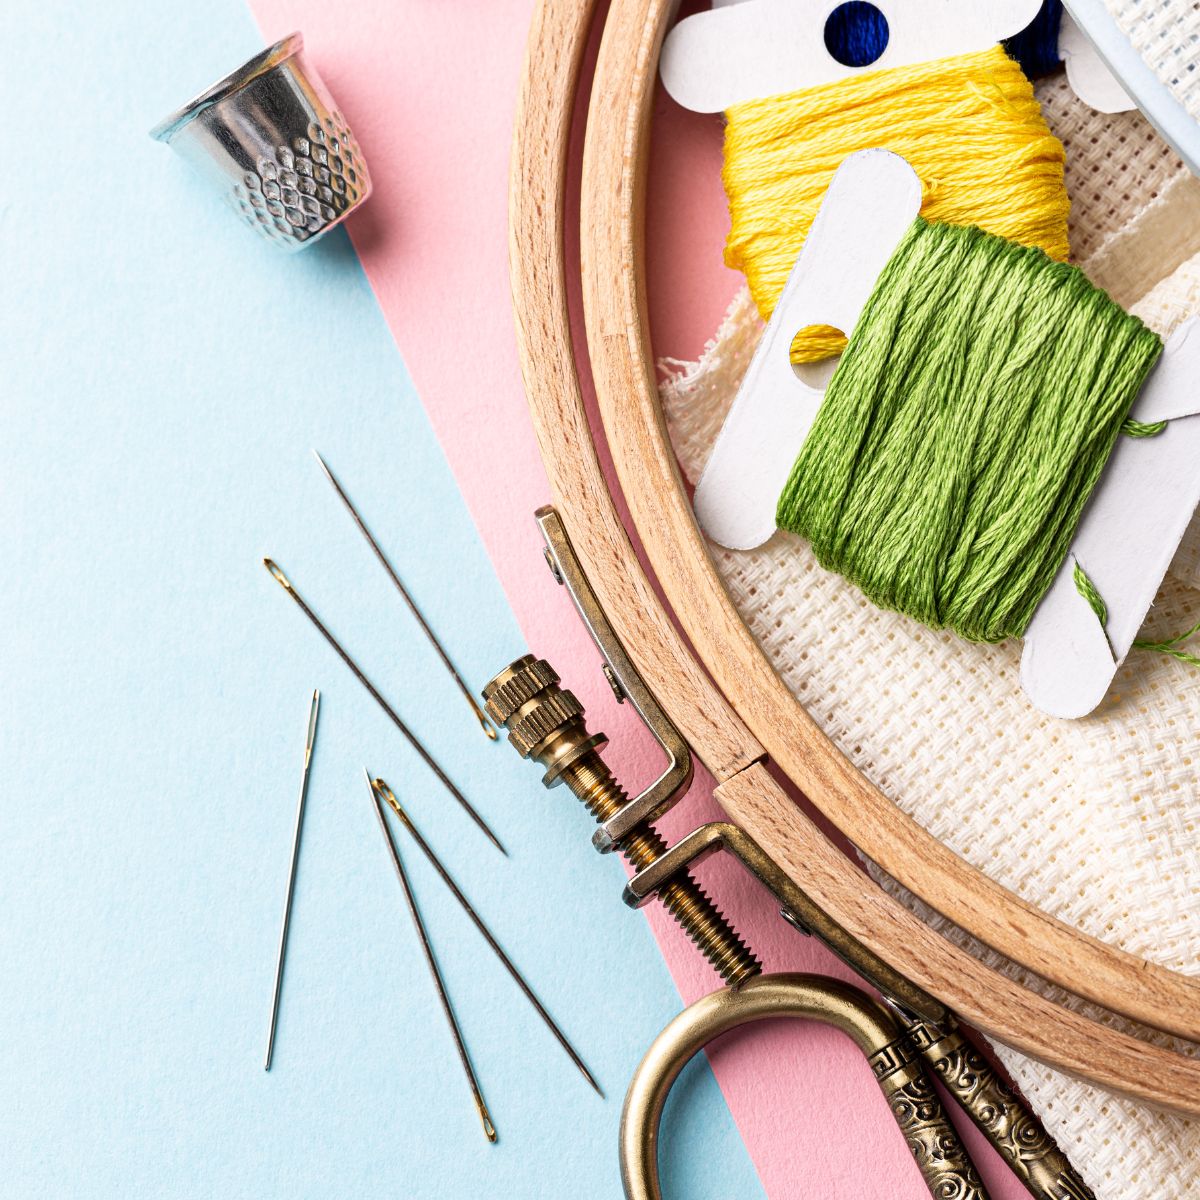
If you need some new tips and tricks when it comes to the supplies you’re using, here are my 5 genius embroidery supplies that I think you could benefit from using while you’re picking up on stitching, or advancing your skills.