
You’ve chosen your materials and the color of your floss. Now, there’s only one last preparatory step to complete before creating your design: getting your needle threaded and ready to go.
While embroidering is not an easy skill to learn, one of the more difficult parts of the process is learning how to thread your embroidery needle. Sometimes, the floss can fray, leaving you with a ton of strands, making it more difficult to get it through the tiny needle eye easily.
Don’t let this step stop you from dabbling in embroidery! There are plenty of ways to thread an embroidery needle such as using a threading needle, the fold over method, and more. And don’t worry, none of those methods are going to advise you to stick the floss in your mouth to moisten it. So if you’re contemplating beginning your journey with embroidery, this is a great place to begin.
How To Thread An Embroidery Needle
This can easily become the most frustrating part of your embroidery creation. After a few failed attempts, you may even want to throw your hands up in defeat, but there are a few methods to make it easier. Like most things, it will get easier with practice, but everyone needs to start somewhere! To begin this process, there are a few steps that need to be completed beforehand.
When you have the floss you want to use, pull about a fore arm’s length and snip it. Any longer than this length can cause it to knot up and become difficult to pull through after every stitch.
Next, most embroidery floss have a total of six strands of thread. You can leave it as is and use that for your stitching, or you can make it thinner. This all depends on the type of design you’re making. To split the thread, grab the top and separate the amount of strands you want to use and hold it in one hand. With the opposite hand, drag your fingers down the split so it can separate the entire piece of floss.
Allow the groups of threads to untwist once you get to the end and your split floss is ready to work with.
With your floss cut and separated (if you choose), you’re ready to move on to the next preliminary task: threading your needle!
Use A Needle Threader
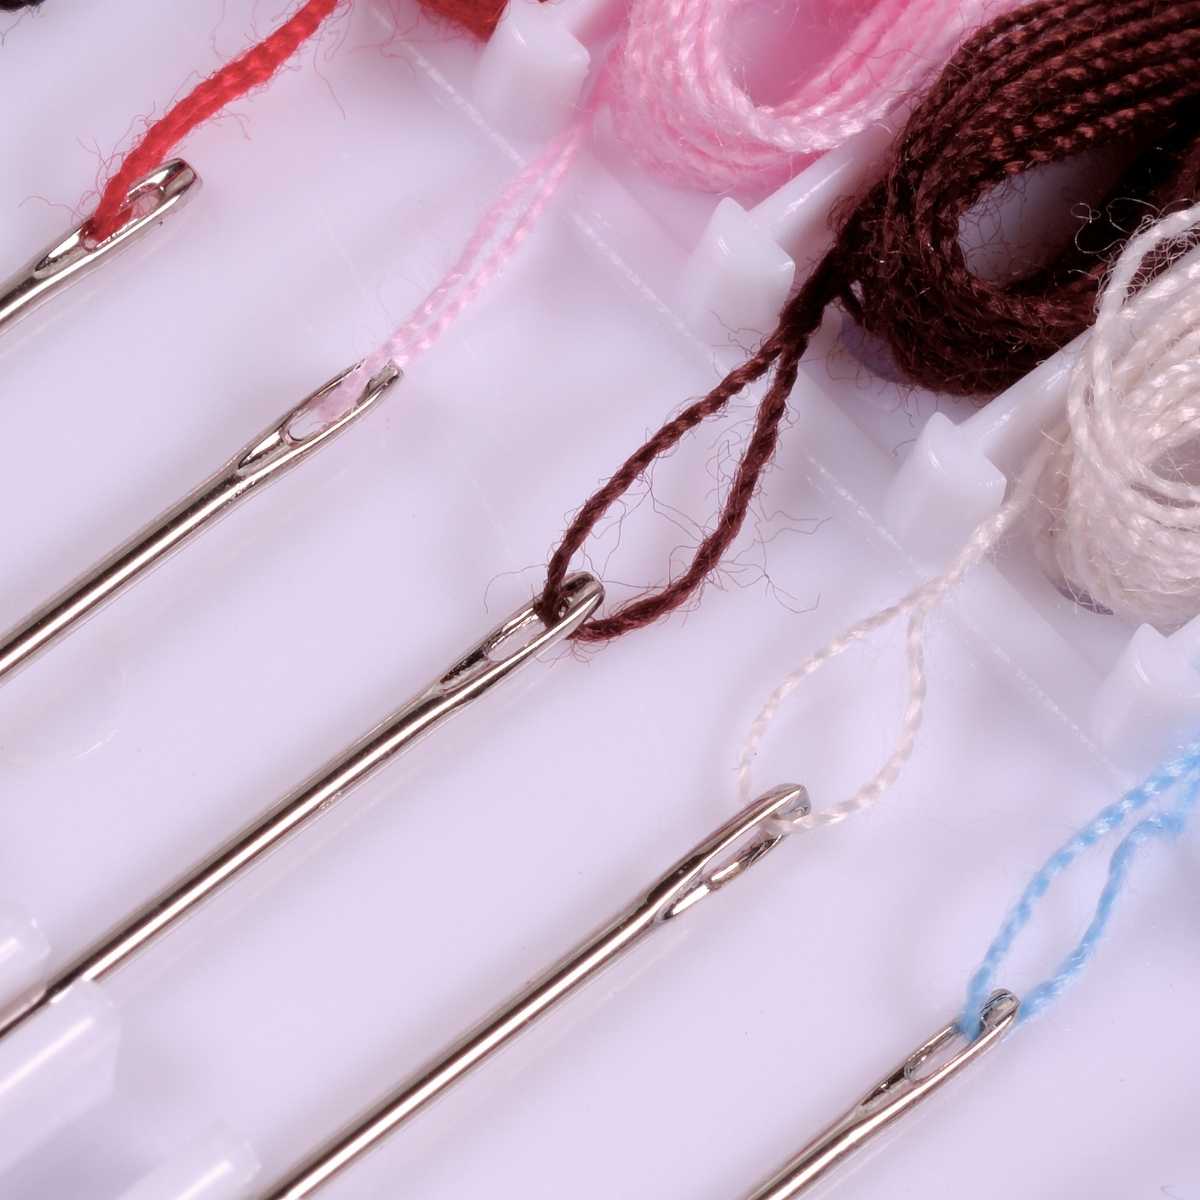
This little tool can end up being your best friend if you have trouble getting your embroidery floss through the eye easily.
It has a metal loop on the end that makes threading your needle a breeze! Simply stick the metal loop through a needle’s eye and once you do, you will thread your floss through the needle threaders metal loop. Once you have it fastened, you use the threaders handle to carefully pull the metal loops, as well as the thread within it, back through the needle’s eye.
Here’s my favorite needle threader to use.
And there you have it! A perfectly threaded needle with little to no struggle.
However, this tool typically works better with thinner threads or a few strands.
Switch Up Your Grip
Instead of trying to thread your floss with your fingers holding it a few centimeters down, grip it right at the tip. Using your thumb and index fingers only, grab your thread at a section in which you can barely see it anymore.
Then, rather than bringing the thread to the needle, bring the needle to the thread. But don’t move your hand with the thread in it! Squeeze the floss between your fingers, making it more compact and easier to push through the eye. Pull your floss through and voila! A nicely threaded hand embroidery needle.
This method can take some time to master, but with your hand not moving and bringing the needle towards it, if the eye is facing the correct way, you should be able to easily get it right where it needs to be.
Also, it’s always a good idea to begin this step with a fresh cut with a pair of embroidery scissors to get rid of any fraying and have a fresh thread end.
Moisten The Tip
Don’t fret, we aren’t going to tell you to lick your thread. While that is definitely an option, it is a little unsanitary, especially if you’re creating an embroidery design for someone other than yourself. Instead, there are alternative ways to get the tip of your floss moistened and therefore more compact to combat frays and make it a bit thinner in general. You can use water, a bit of beeswax, or thread conditioner!
Thread conditioner usually comes in a small container, and you simply place the thread on top of the conditioner and place your finger on top of the thread to hold it in place. Then, gently pull the thread through the space between the conditioner and your finger to get it nice and coated and ready for use.
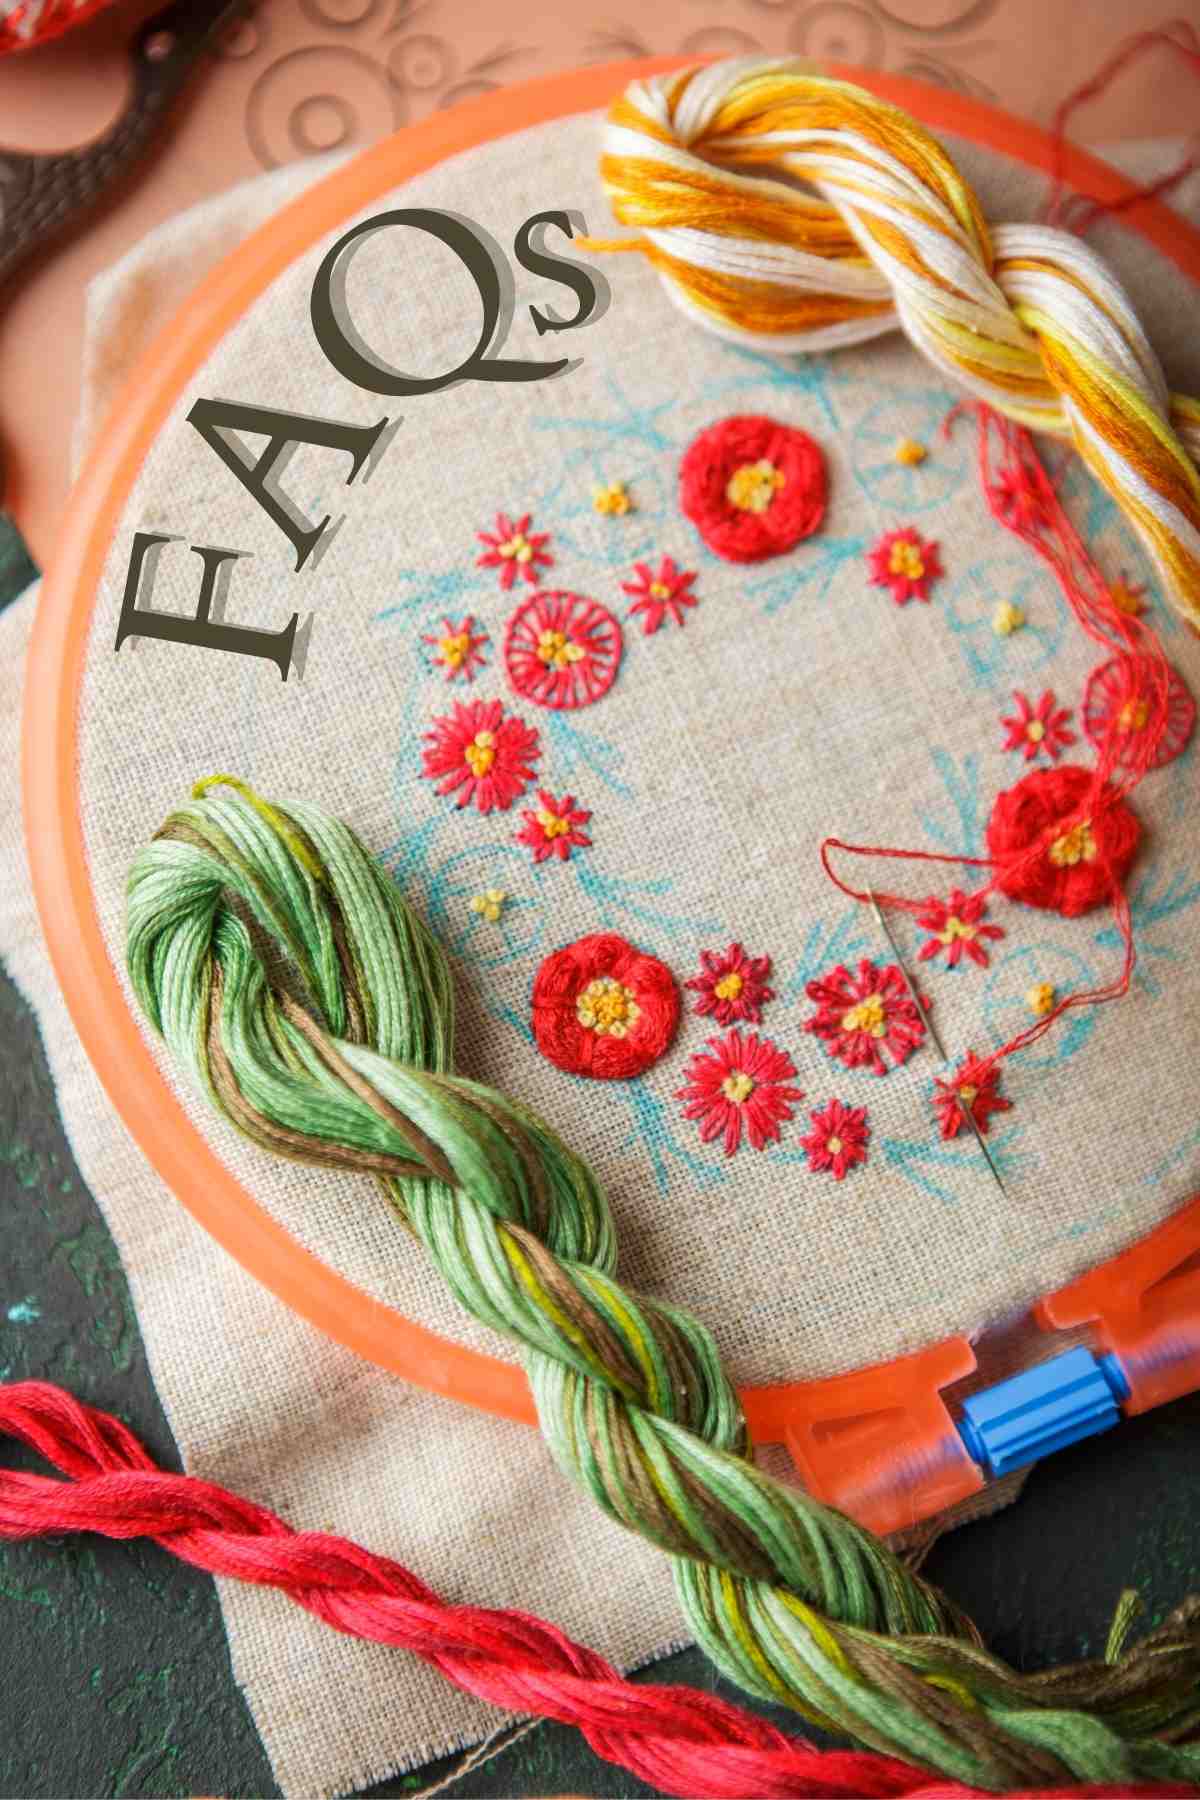
FAQs
Can I use any needle for my embroidery project?
Embroidery needles come in many different sizes, which determine the thickness of the needle and the size of the hole of the eye. The best thing to do is to choose a needle that will best suit your project. Smaller needles for lighter fabrics and larger ones for heavier ones.
This rule also applies to the type of thread you will be using. If your fabric is light, but your thread is thick, you may want to use a larger needle to accommodate the thread rather than the fabric and vice versa.
What’s the difference between an embroidery needle and a sewing needle?
Sewing needles have a smaller eye then embroidery needles to best suit sewing threads and therefore are not suitable for the needs of embroidering.
Embroidery needles have a larger and longer eye as well as a little indentation above the eye that ensures your thread does not break nor fray while you are stitching.
Pattern Ideas You’ll Love
- 35 Funny Embroidery Designs – Who says that embroidery only has to be used in a serious matter? From cheeky phrases to puns to humorous images, this guide will walk you through over 30 ideas to embroider that will hopefully make whoever looks at it chuckle a little. These funny designs are a wonderful gift idea for a friend and can even work as a way to cheer someone up who you know may be going through a rough time. Or you can decorate your home with these cute, funny designs! The best part of most of these designs is that they are straight forward enough that they are beginner friendly!
- 25 Small Embroidery Designs – These small designs are the perfect way to incorporate your own little touch on any item without taking up too much of your time! With a variety of stitches, this guide will give you plenty of options for embroidery designs and can also spark some inspiration to create your own.
- 21 DIY Bee Embroidery Patterns – Want to add an extra buzz to one of your projects? Consider embroidering one of these adorable bee designs! From the classic black and yellow bumble bee we all know and love, to the more eclectic bees with different patterns, this list we’ve compiled includes so many options! There is also a section of bee designs that are more challenging, which is a great way to test your skills if you want to take your embroidering to the next level.