
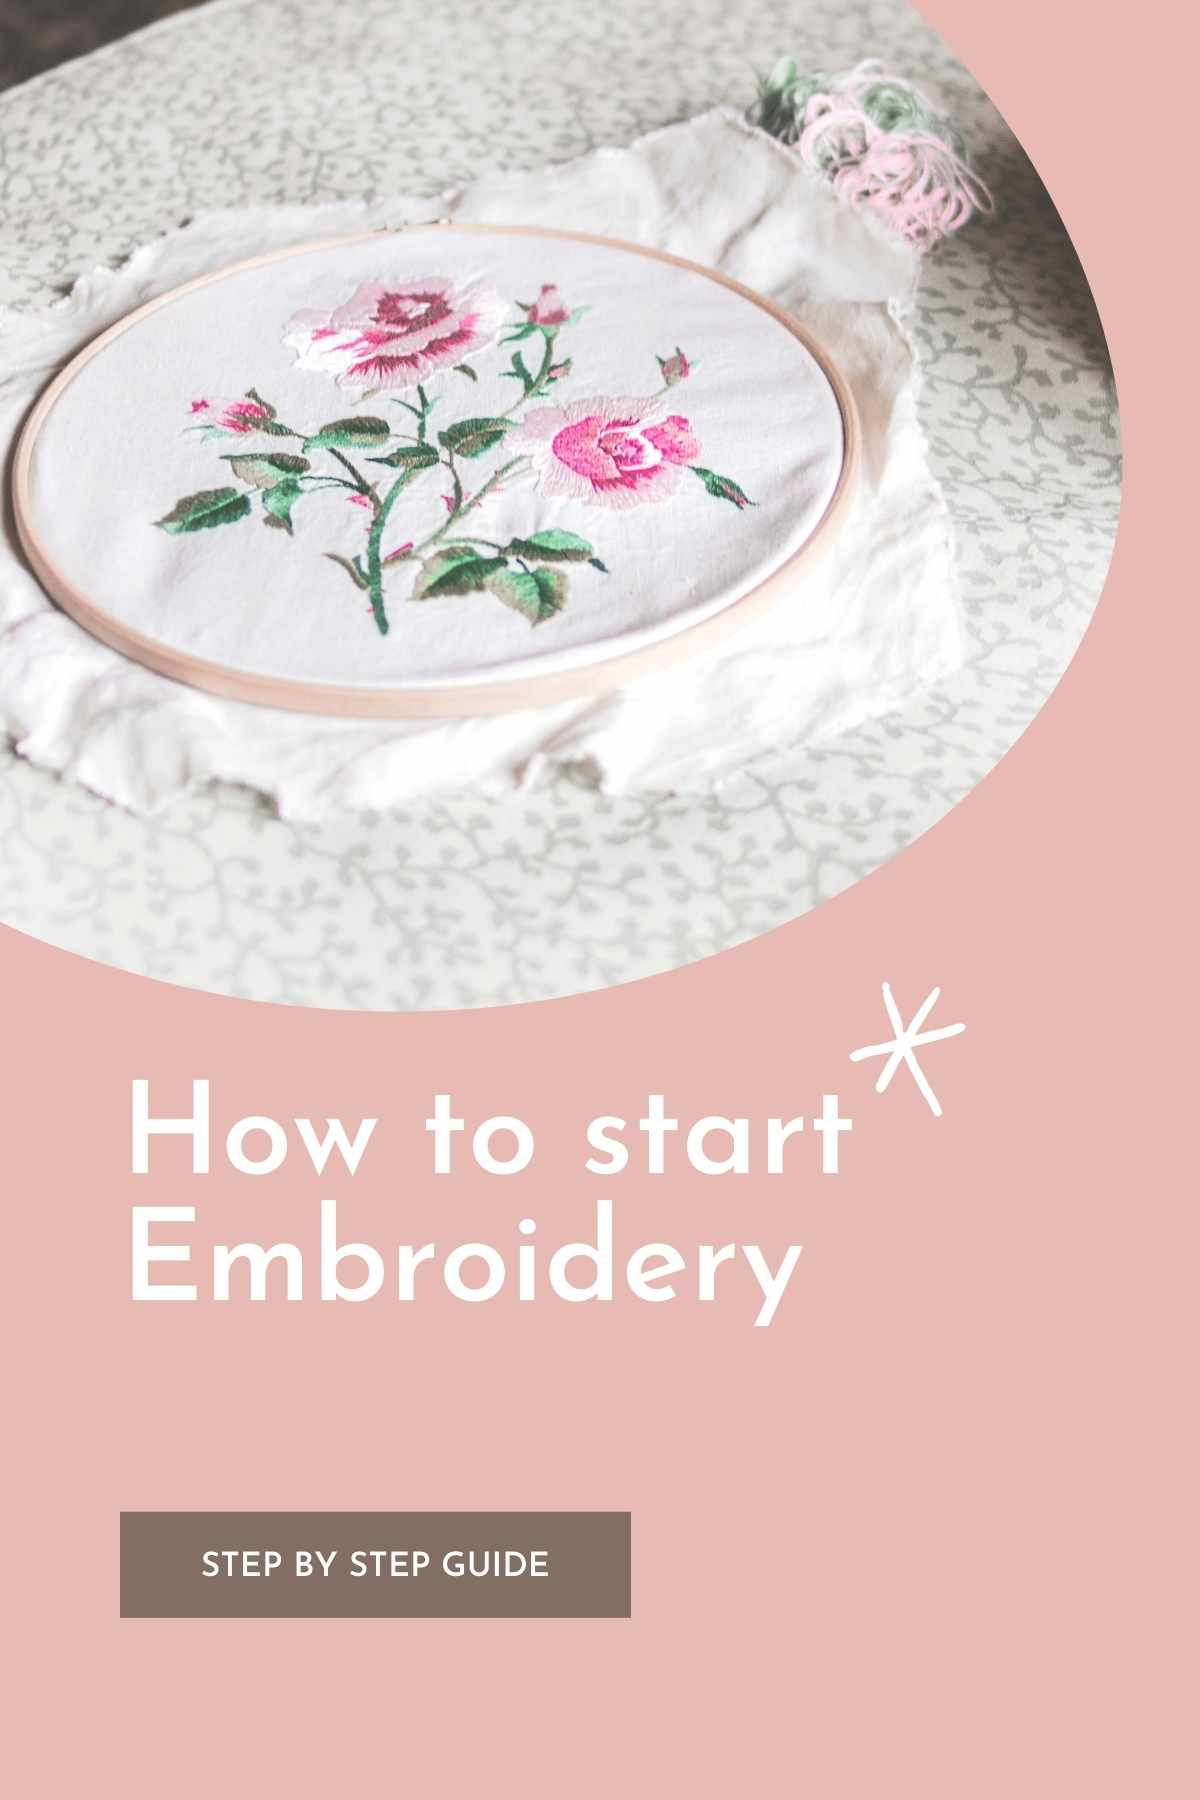
If you’re looking to learn how to start embroidery, look no further! Embroidery is a wonderful hobby to pick up.
It’s relaxing, creative, and a great way to unwind after a long day.
Throw on your favorite TV show or podcast in the background, pick up your tools, and tap into your artistic side with embroidering
Embroidery is not as difficult as you may think. While it can be a little tricky at first, do not be intimidated! Once you get the hang of it, you’ll be producing adorable projects in no time. It is also an inexpensive activity. Simply run to your local craft store or hop on Amazon for the basic products and then research a beginner pattern to embark on your embroidery journey.
This guide will walk you through the tools and three basic stitches you will need to know to give you a solid foundation.
How To Begin An Embroidery Hobby
Before we jump into the nuts and bolts of embroidery, there are some essential tools you will need.
- Embroidery Hoop: This is a non-negotiable. You absolutely need this item in order to begin embroidering. They are typically made out of wood or plastic. This hoop has two parts that separate from one another, and you place your fabric in between those parts. Once your fabric is centered, you tighten the two sections together to keep it taut and make the process easier.
- For someone just getting their feet wet with embroidery, a 6-inch hoop is a good place to begin as it can be used for a multitude of projects.
- Embroidery Floss: Floss is just the embroidery term for thread. It’s not expensive, easy to find, and comes in hundreds of colors. You’ll have tons to pick and choose from for any project. Definitely avoid purchasing floss that is specifically for craft projects, like friendship bracelets, because it can be more frustrating and difficult to learn and work with.
- Fabric: For a beginner, I would definitely lean more towards a light-colored quilting cotton or even weave fabric, like linen. If you’re purchasing your fabric by the yard, ¼ yard is a great place to start as it will last you for several projects. However, beginners should stay away from Aida cloth as it is better for cross-stitching
- Needles: There are tons of different style embroidery needles out there, but don’t get overwhelmed! Thankfully, any embroidery needle with an eye large enough to fit the floss through should work just fine. I would recommend picking up a variety of needles that are labeled specifically for embroidery.
- A water soluble marker: This is how you are going to trace the pattern you want to create! For a beginner, the easiest way to follow a pattern is by tracing it directly onto the fabric you’re going to be using. A water soluble marker is the best way to do this as you can easily wash it out of the fabric afterwards with cold water to get rid of the markings.
- Embroidery Scissors: You can use any pair of sharp scissors you have on hand if you don’t want to spend the extra cash on embroidery scissors. This tool is for cutting your floss to the correct length. They need to be sharp to ensure that it’s a clean snip and doesn’t leave your ends frayed.
Now that you’ve got all the necessary embroidery tools, you’re ready to go!
Basic Embroidery Stitches For Beginners
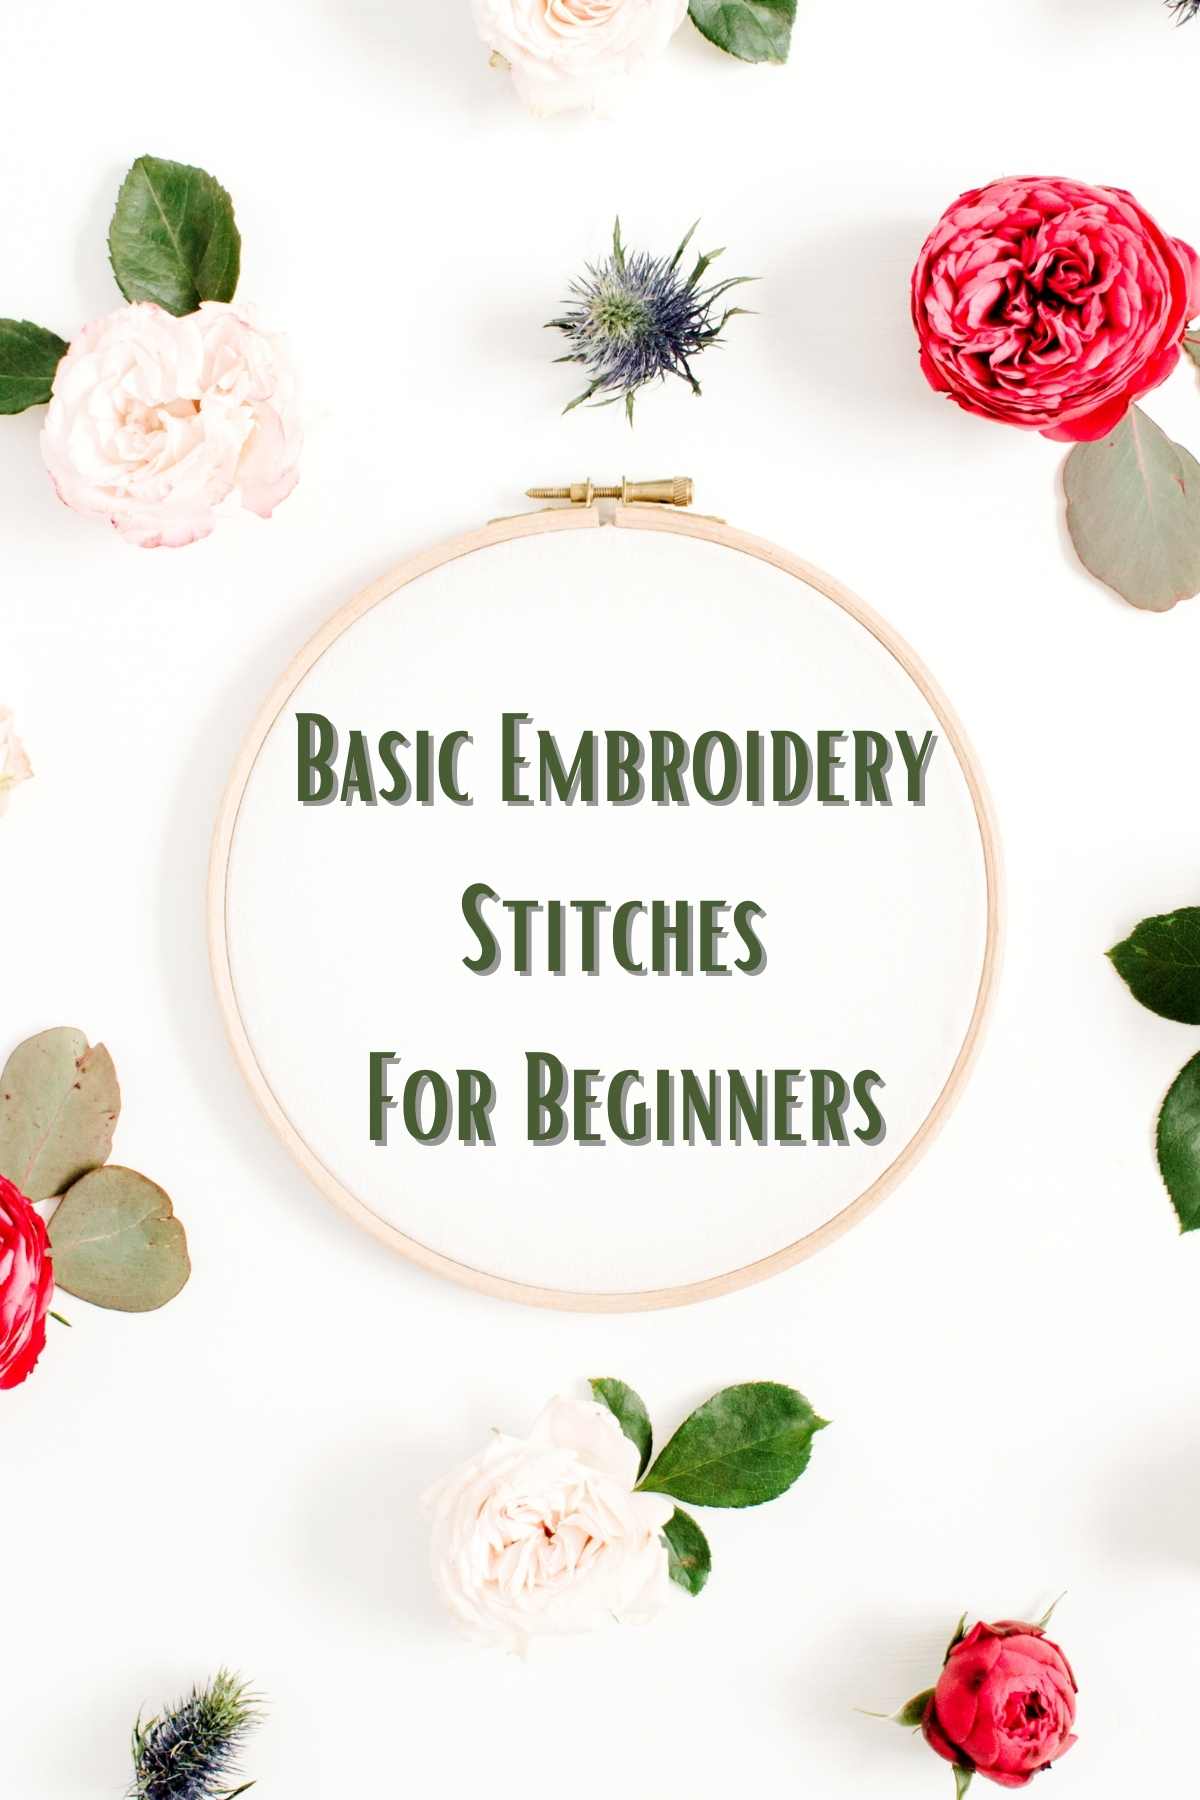
You’re going to start off with inserting your fabric in between the embroidery hoop pieces to make sure it’s fastened securely and pulled somewhat taut so it’s easy to work with. Tighten the screw on the hoop with caution though! I can almost guarantee that as a beginner, after you complete your first project, your fingers will be too sore to undo a super tight screw.
If you’re wondering how to start an embroidery stitch, you’re going to use what’s called an “away knot.” Which is settled 3-5 inches away from the beginning of the embroidery. This will keep your thread in place as you stitch!
With your fabric situated in your embroidery hoop and your away knot tied, we can move on to some basic stitches for you to use.
- Straight Stitch: This is the most basic style of stitching. You actually might already know how to do it instinctively! You simply bring the needle up through the fabric and then send it right back down. It’s one of the most foundational stitching, and you’ll probably use it a lot on your embroidery journey.
- Back Stitch: For this, you’re going to push the needle from the back to the front of the fabric, and take a stitch to the right. Then you will bring it back up and use that first hole to push it back down. It should give you a cohesive line that is perfect for outlining and letters as well!
- Split Stitch: Push your needle to the front of the fabric and make a small stitch. Then, on your second push to the front, you are going to place the needle in the center of the previous stitch, and then push it down a little bit further away in the same motion and repeat! Similar to the back stitch, but it adds more texture and dimension and is mainly used for flowers, tree tops, and outlines for cute, fuzzy animals.
FAQs
Can I use a sewing needle I already have for embroidery?
No. Embroidery needles are slightly different from sewing needles as they have sharper tips and larger eyes. Sewing needles are manufactured for thinner thread, which would not properly accommodate embroidery floss.
Likewise, there are a variety of needles for embroidery depending on the thickness of the fabric you’re using and the size of the thread you’ll be stitching with.
What if I’m having trouble threading my needle?
Don’t let this discourage you from trying your hand at embroidery!
I actually have an article that is an accompanying how-to guide that walks you through this exact situation with different methods to help you: How To Thread An Embroidery An Embroidery Needle
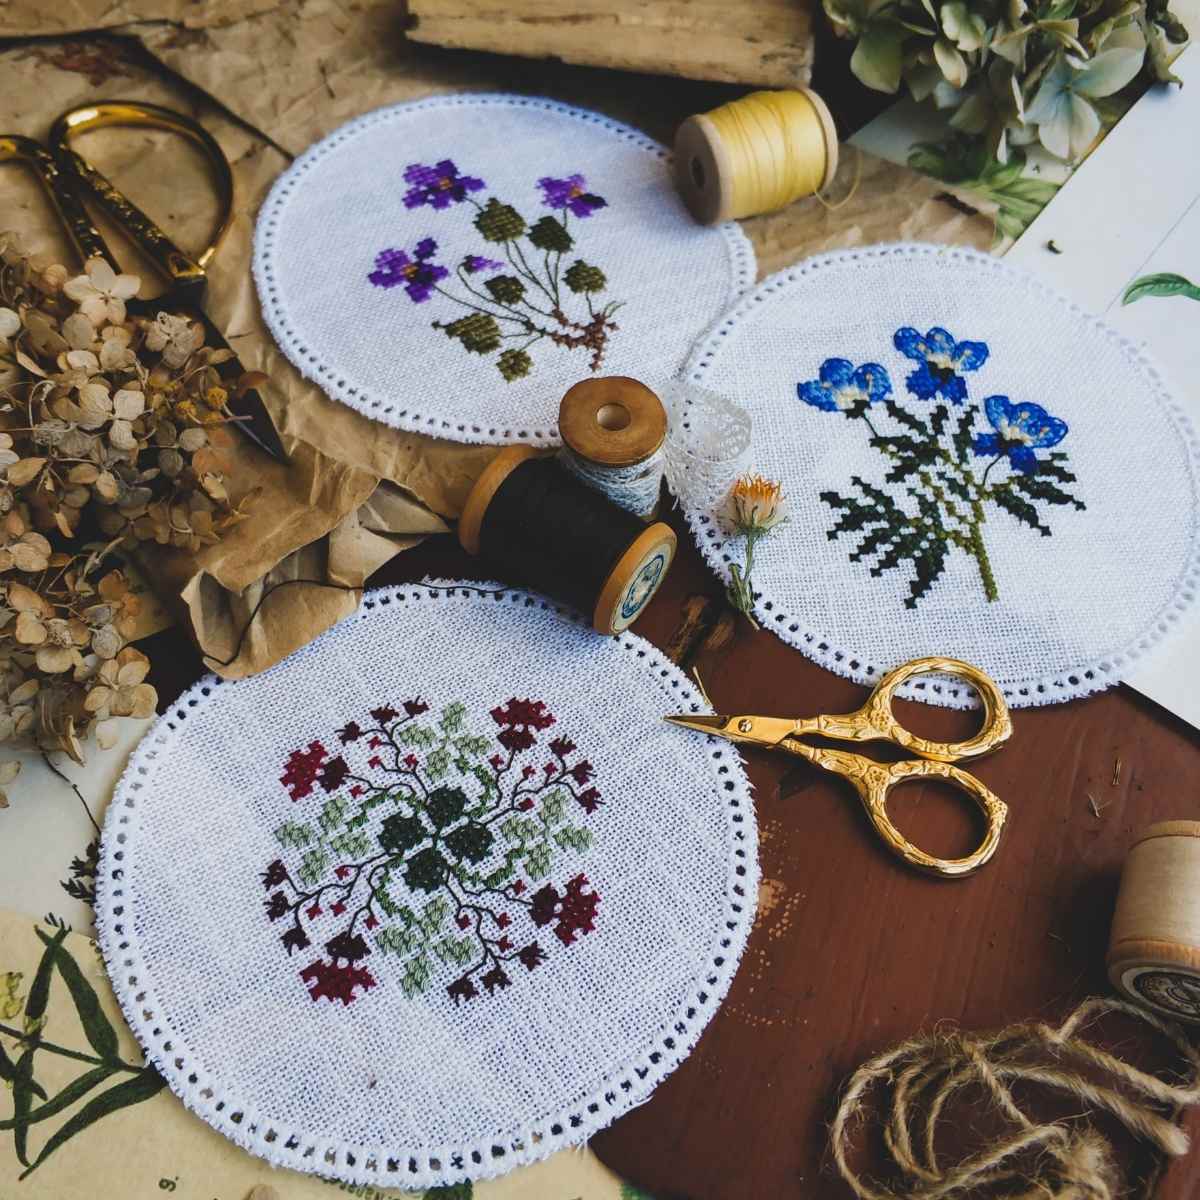
Pattern Ideas You’ll Love
- 41 Cute Embroidery Designs For Kids – Embroidery is an incredible skill to introduce to your child! It enhances their hand-eye coordination, fine motor skills, and also provides them with a really unique creative outlet. Also, embroidery provides continuously visible results that will allow your child to feel a sense of accomplishment from start to finish. This list has a ton of designs that are perfect not only for kids but for beginners of embroidery as well!
- 30 Festive Christmas Embroidery Designs – Need inspiration for a creative Christmas gift? Check out this list we compiled of 30 holly jolly designs you can embroider as a gift for a friend or loved one. From yummy gingerbread men to adorable reindeer, you’ll be able to find it here. We made sure to include designs that apply to every skill level, so no matter where you are in your embroidery journey, there’s something for you.
- 27 Sunflower Embroidery Patterns – These beautiful sunflower designs can act as a great addition to any room in your home! Their yellow hue will add light and warmth no matter where you place the final product. Not to mention that they symbolize happiness. Not to mention that they would make a lovely gift for anyone in your life.